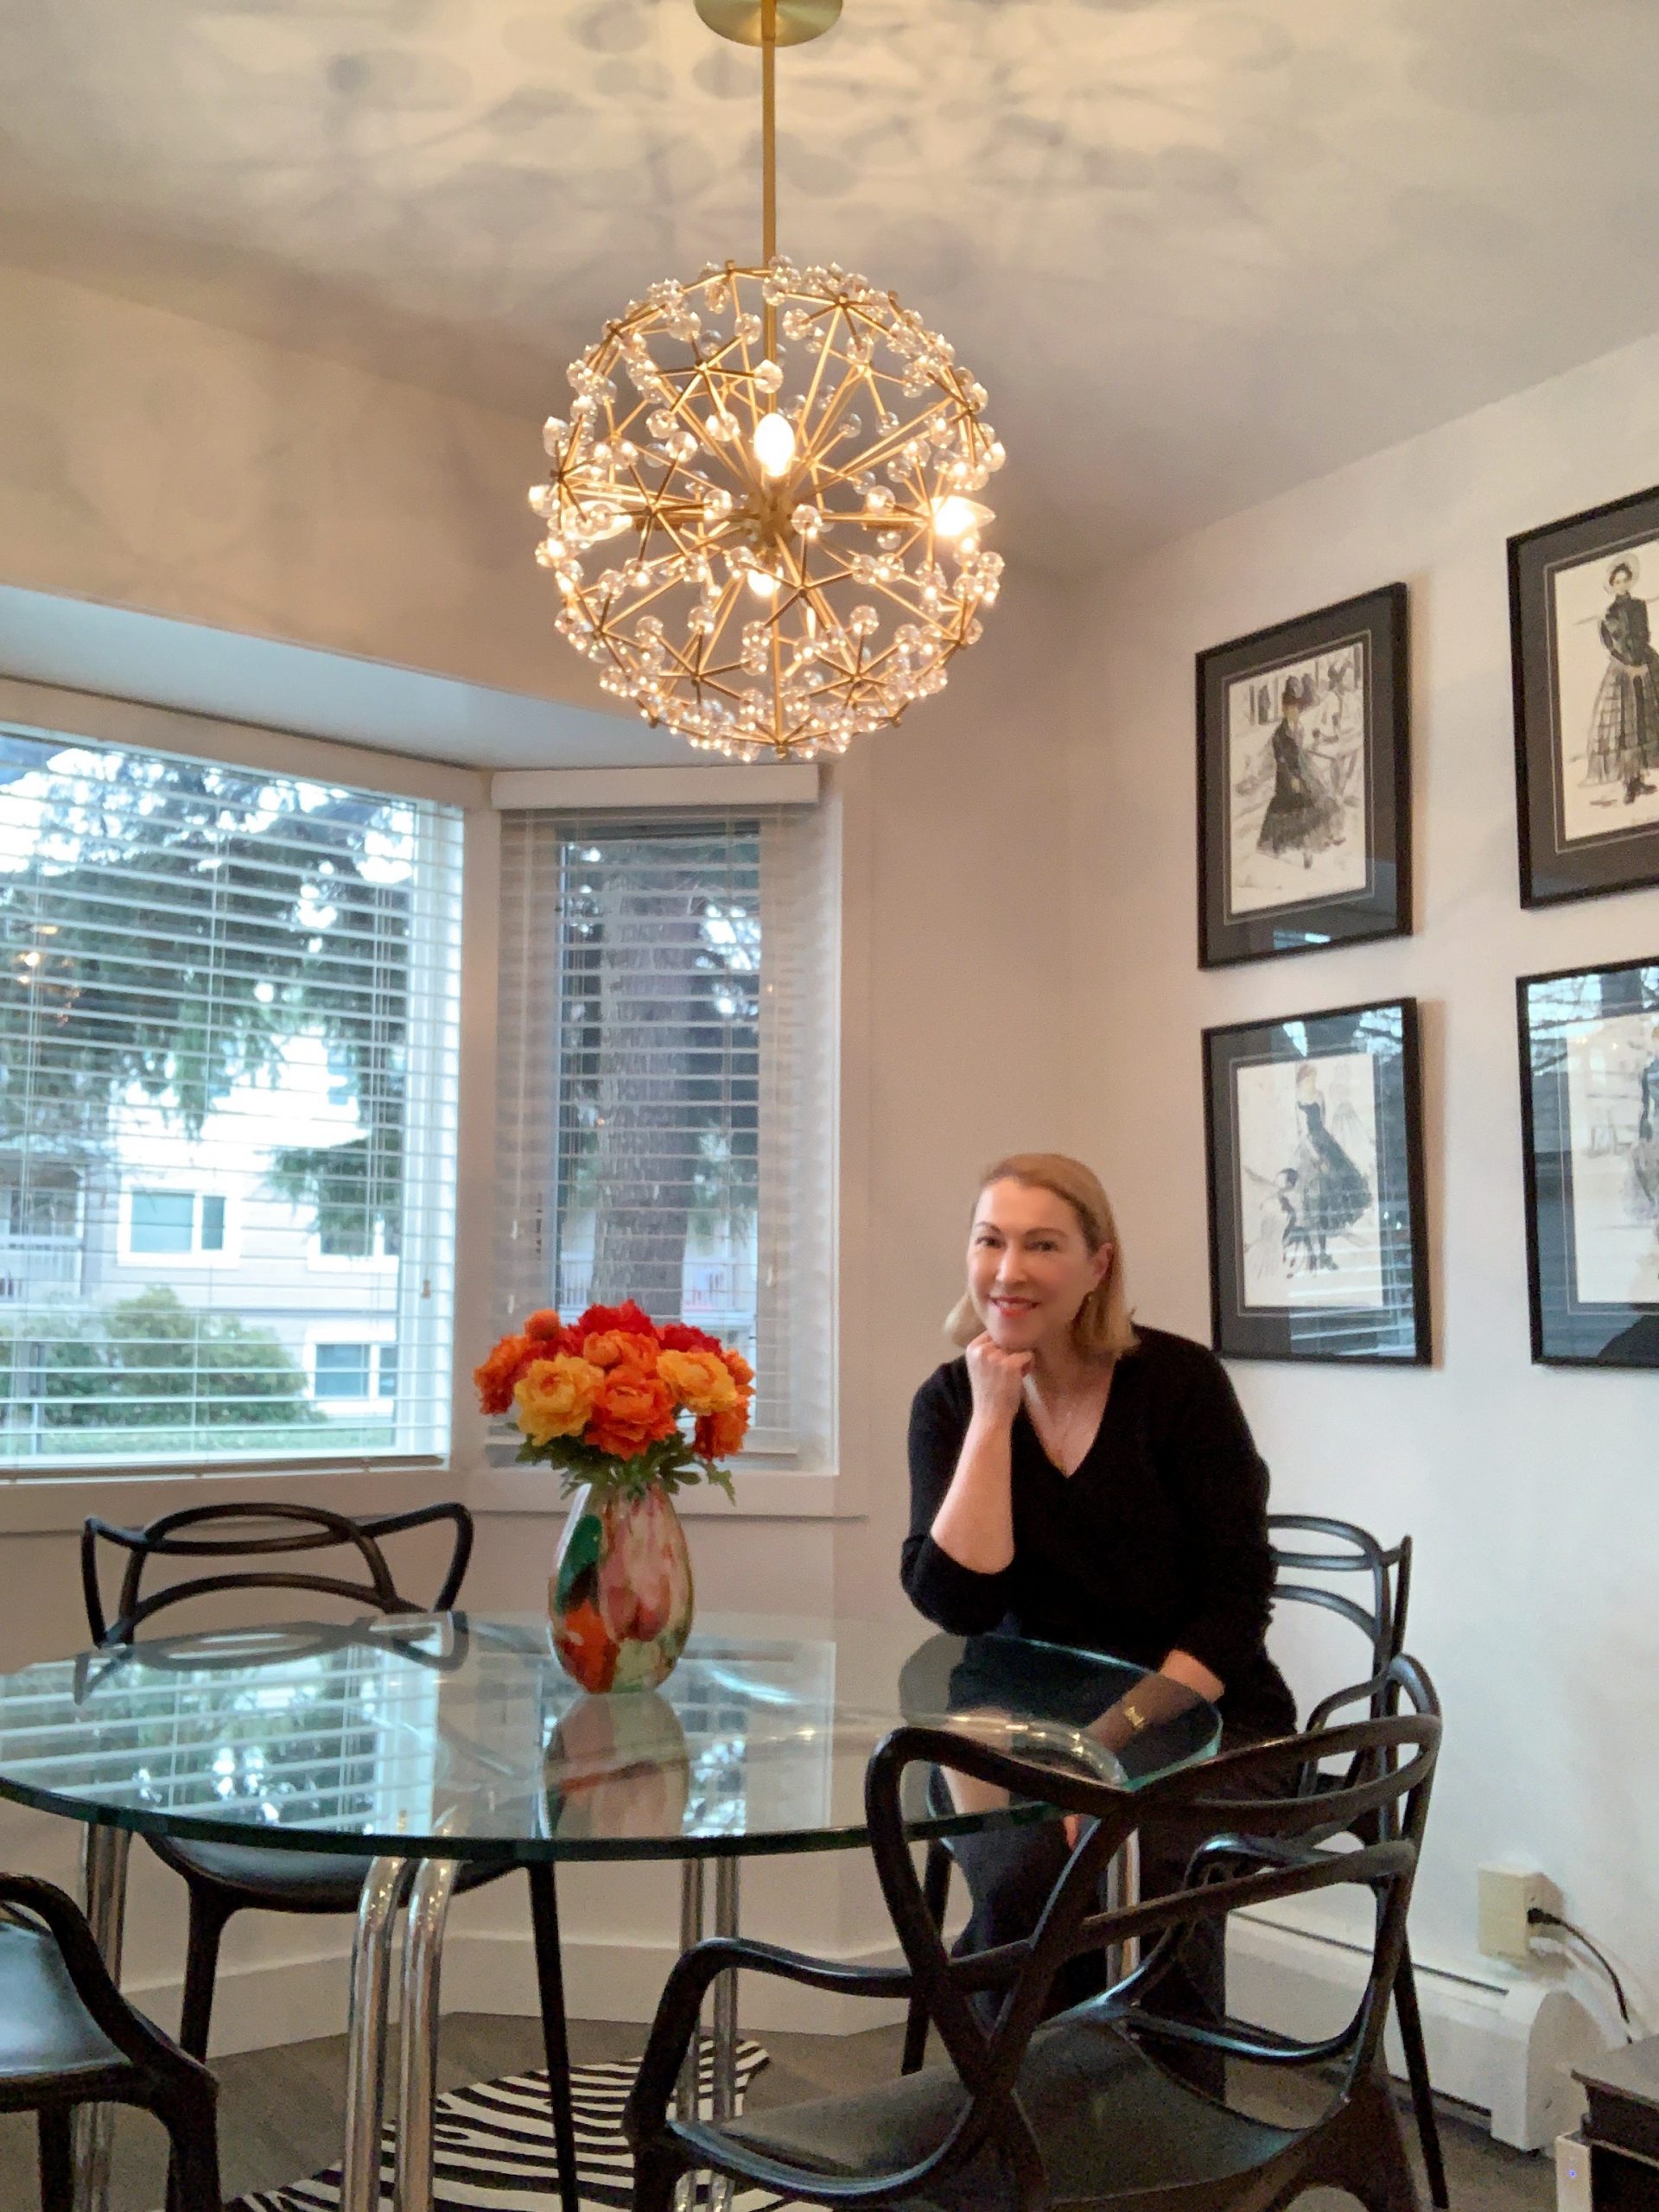
10 Ways to Make a Modest Condo Shine – Part 1

Back to Blog

June 4, 2021

Raffi, my pug and constant companion, in the living room.

By Lisa Tant

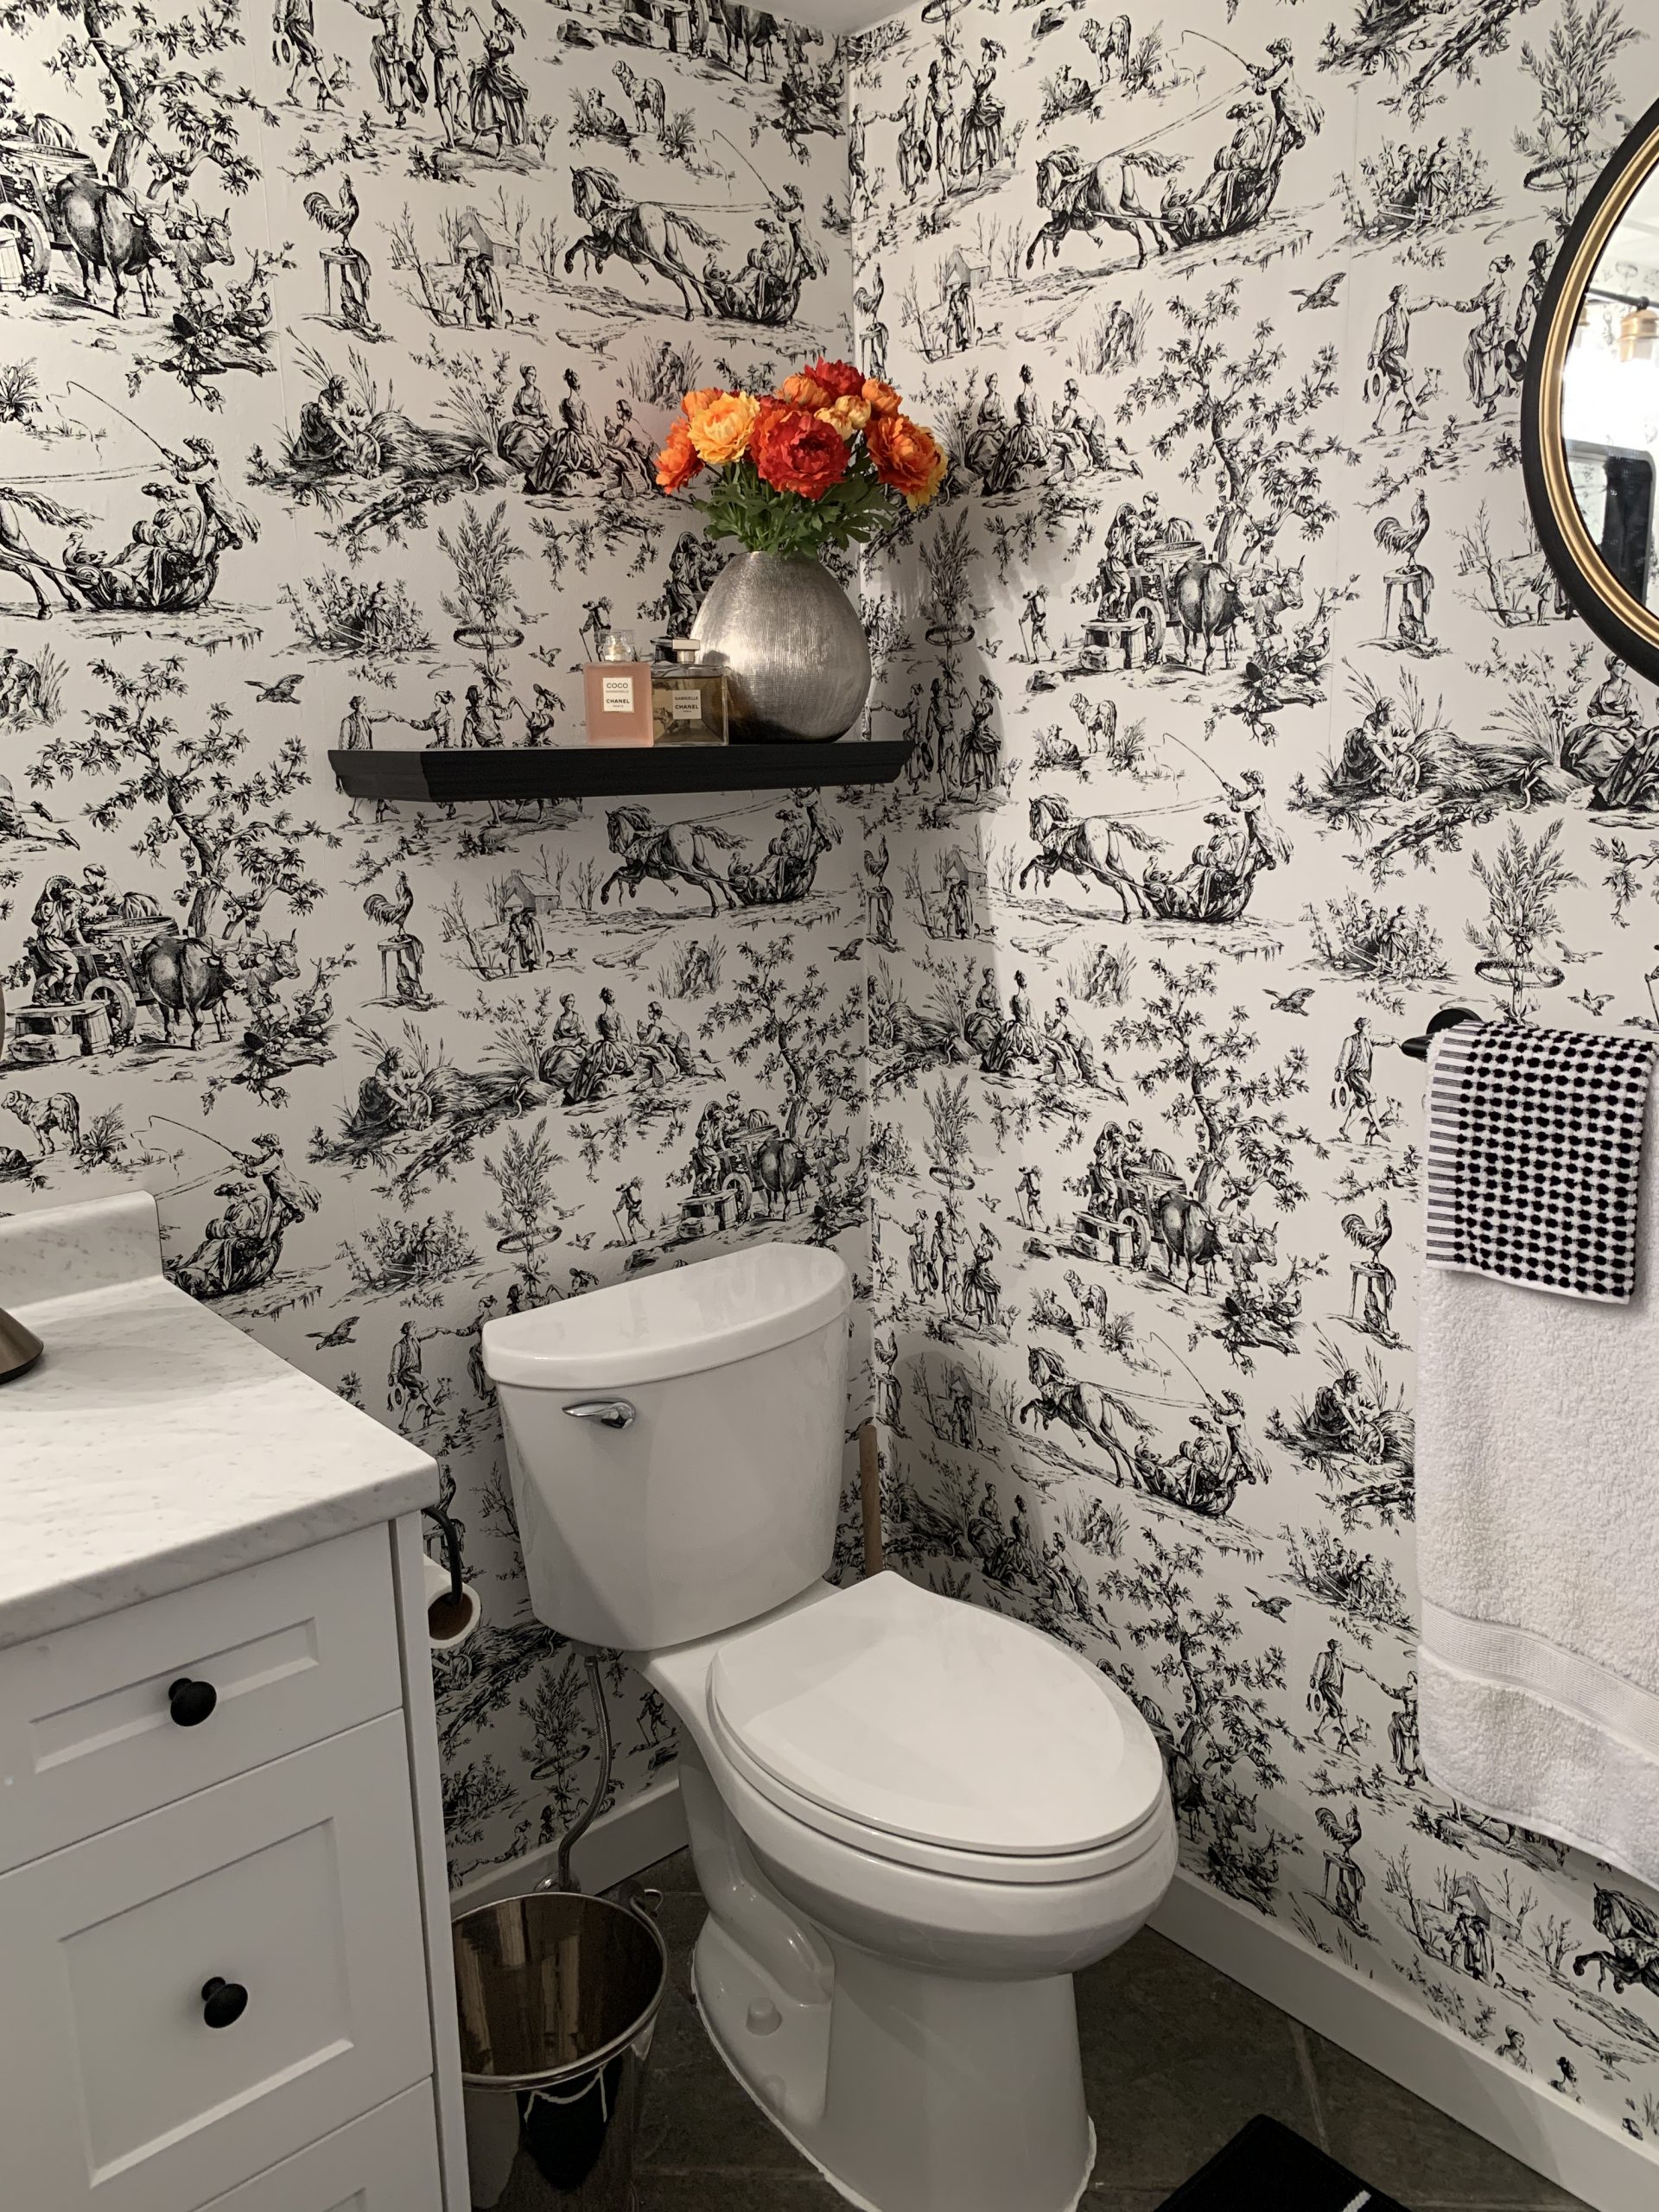
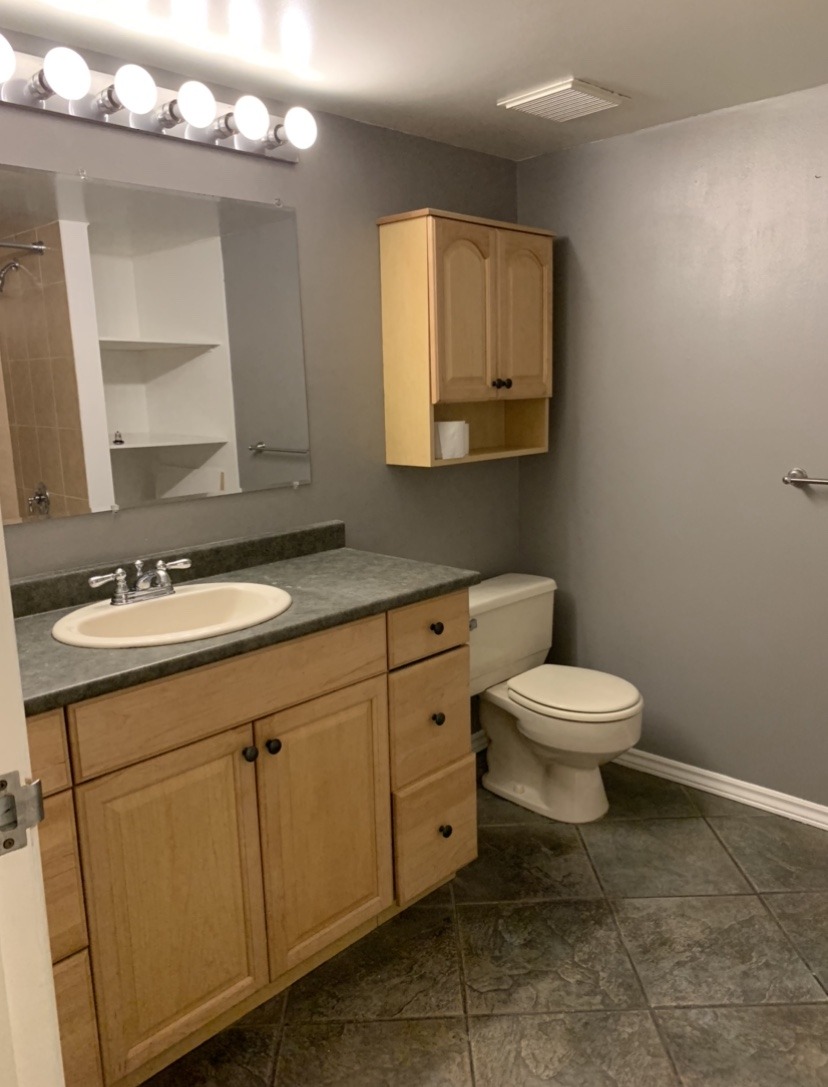
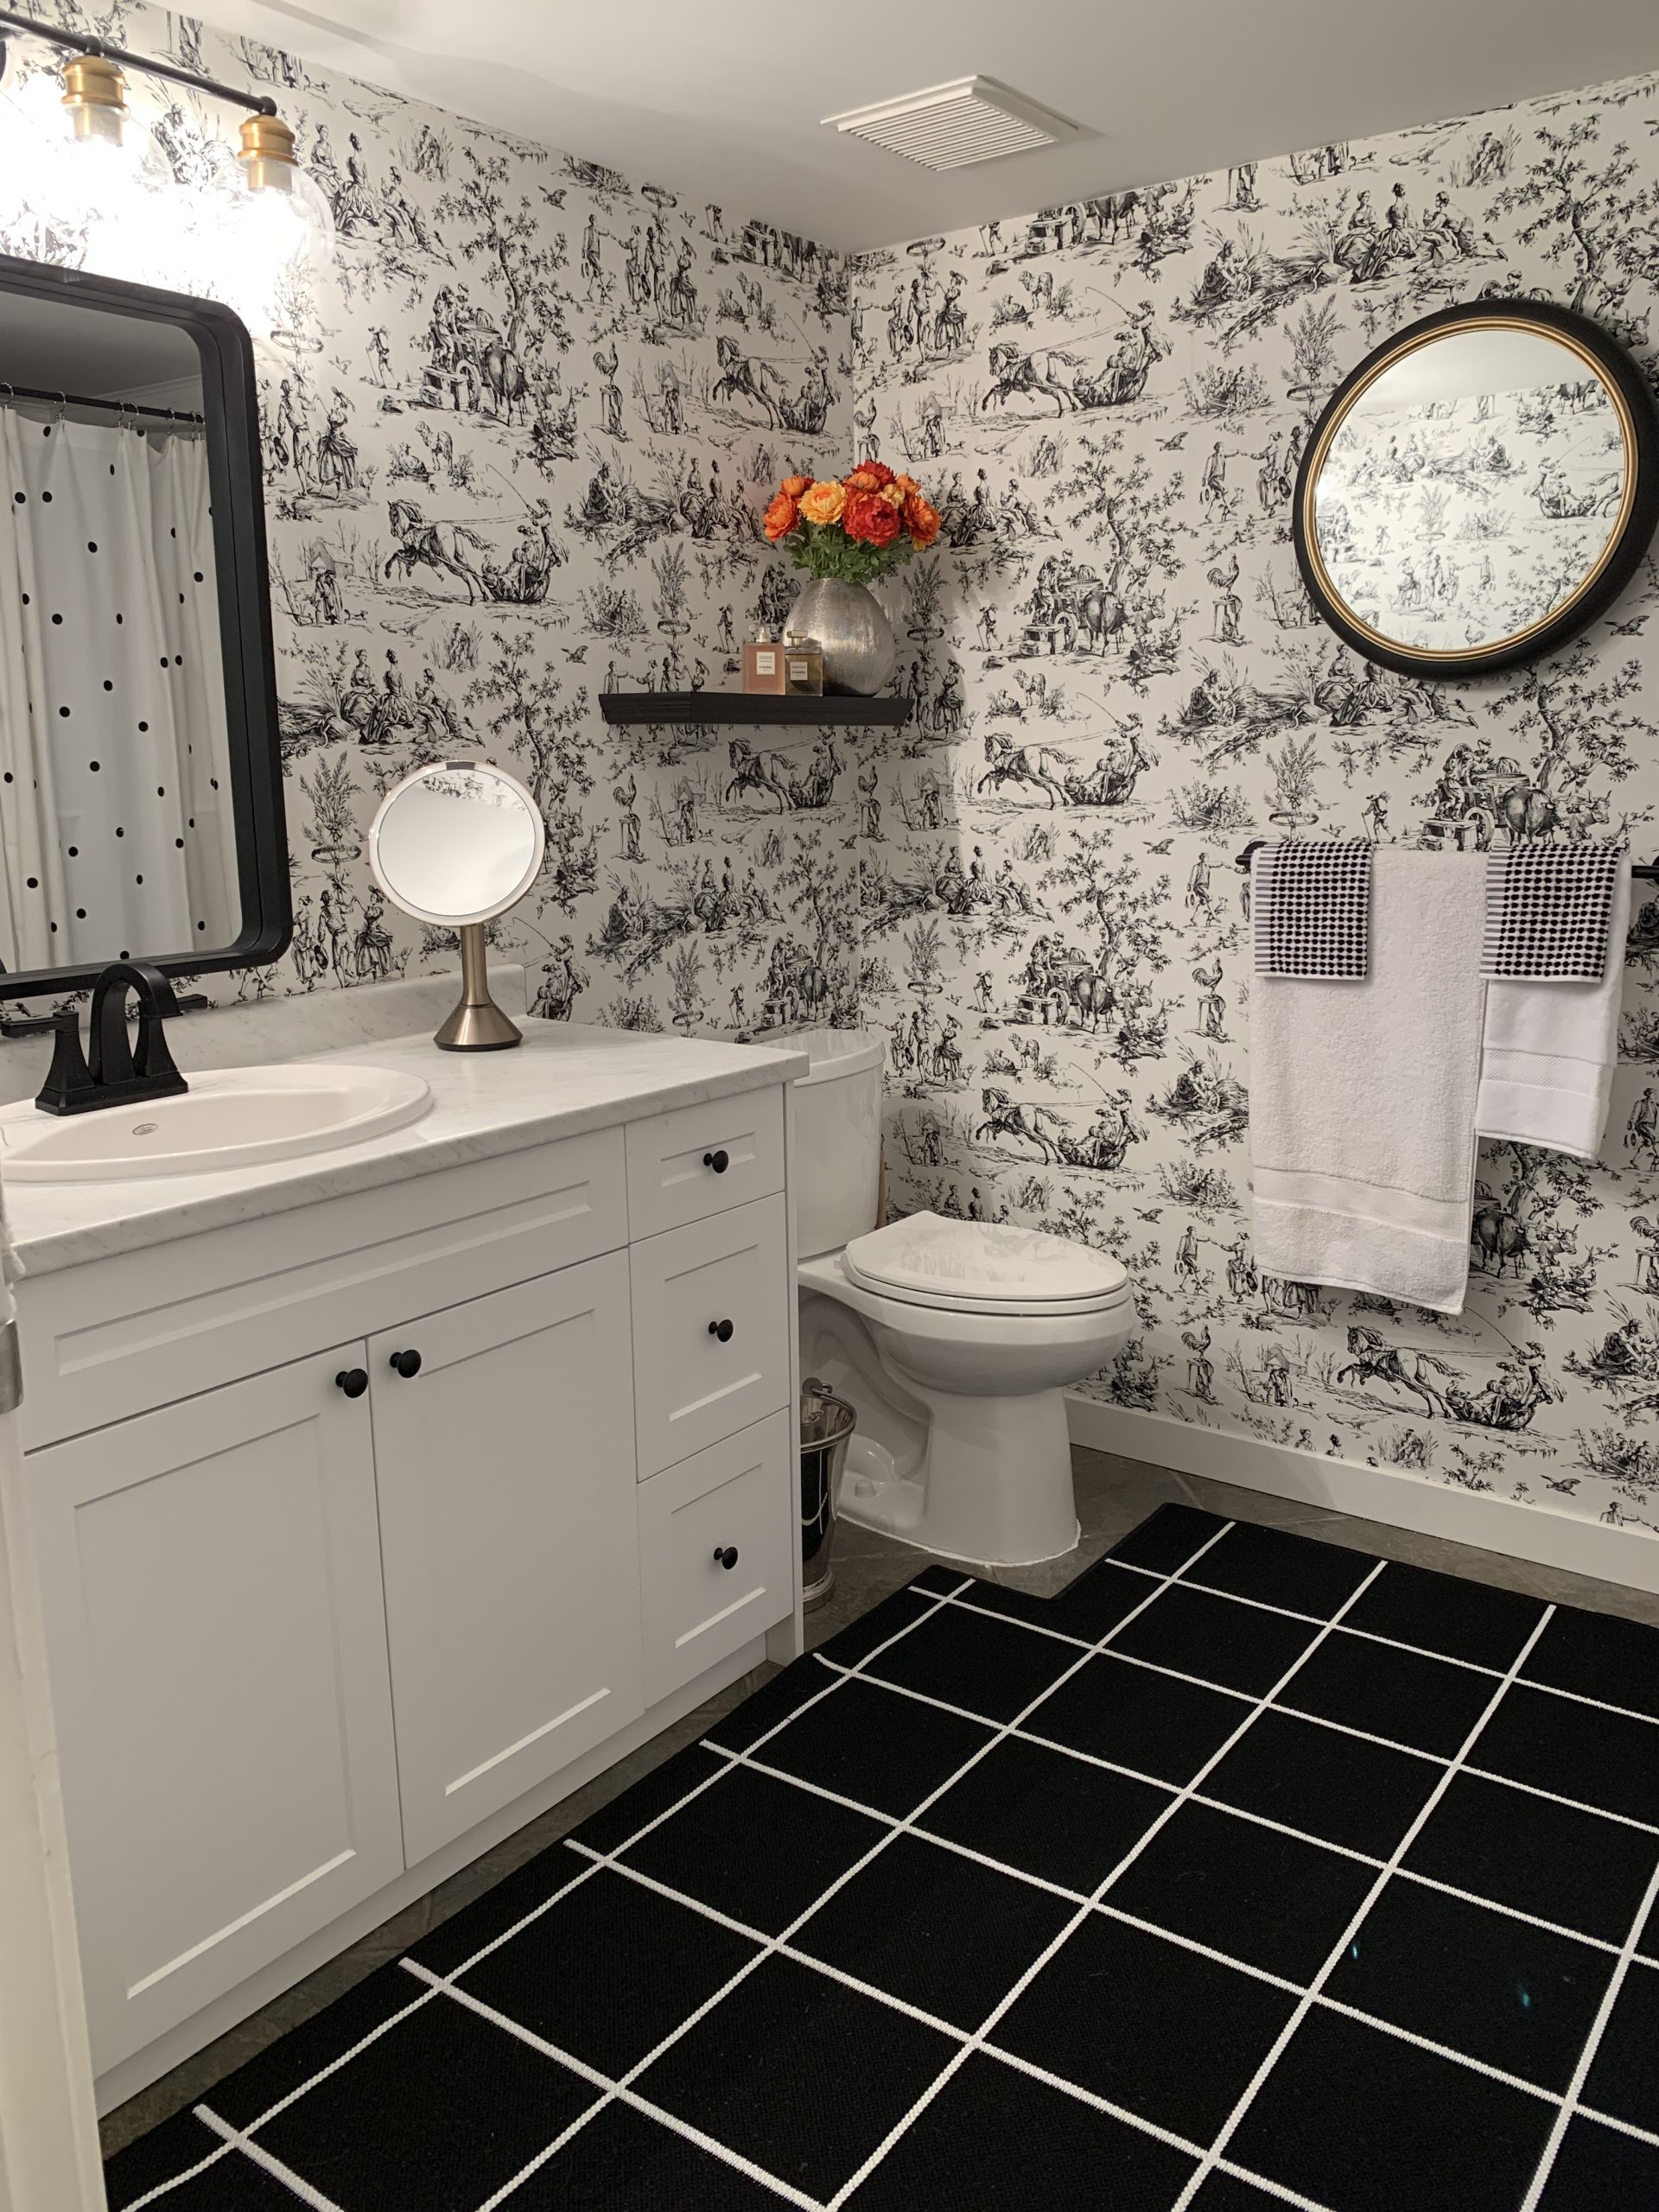
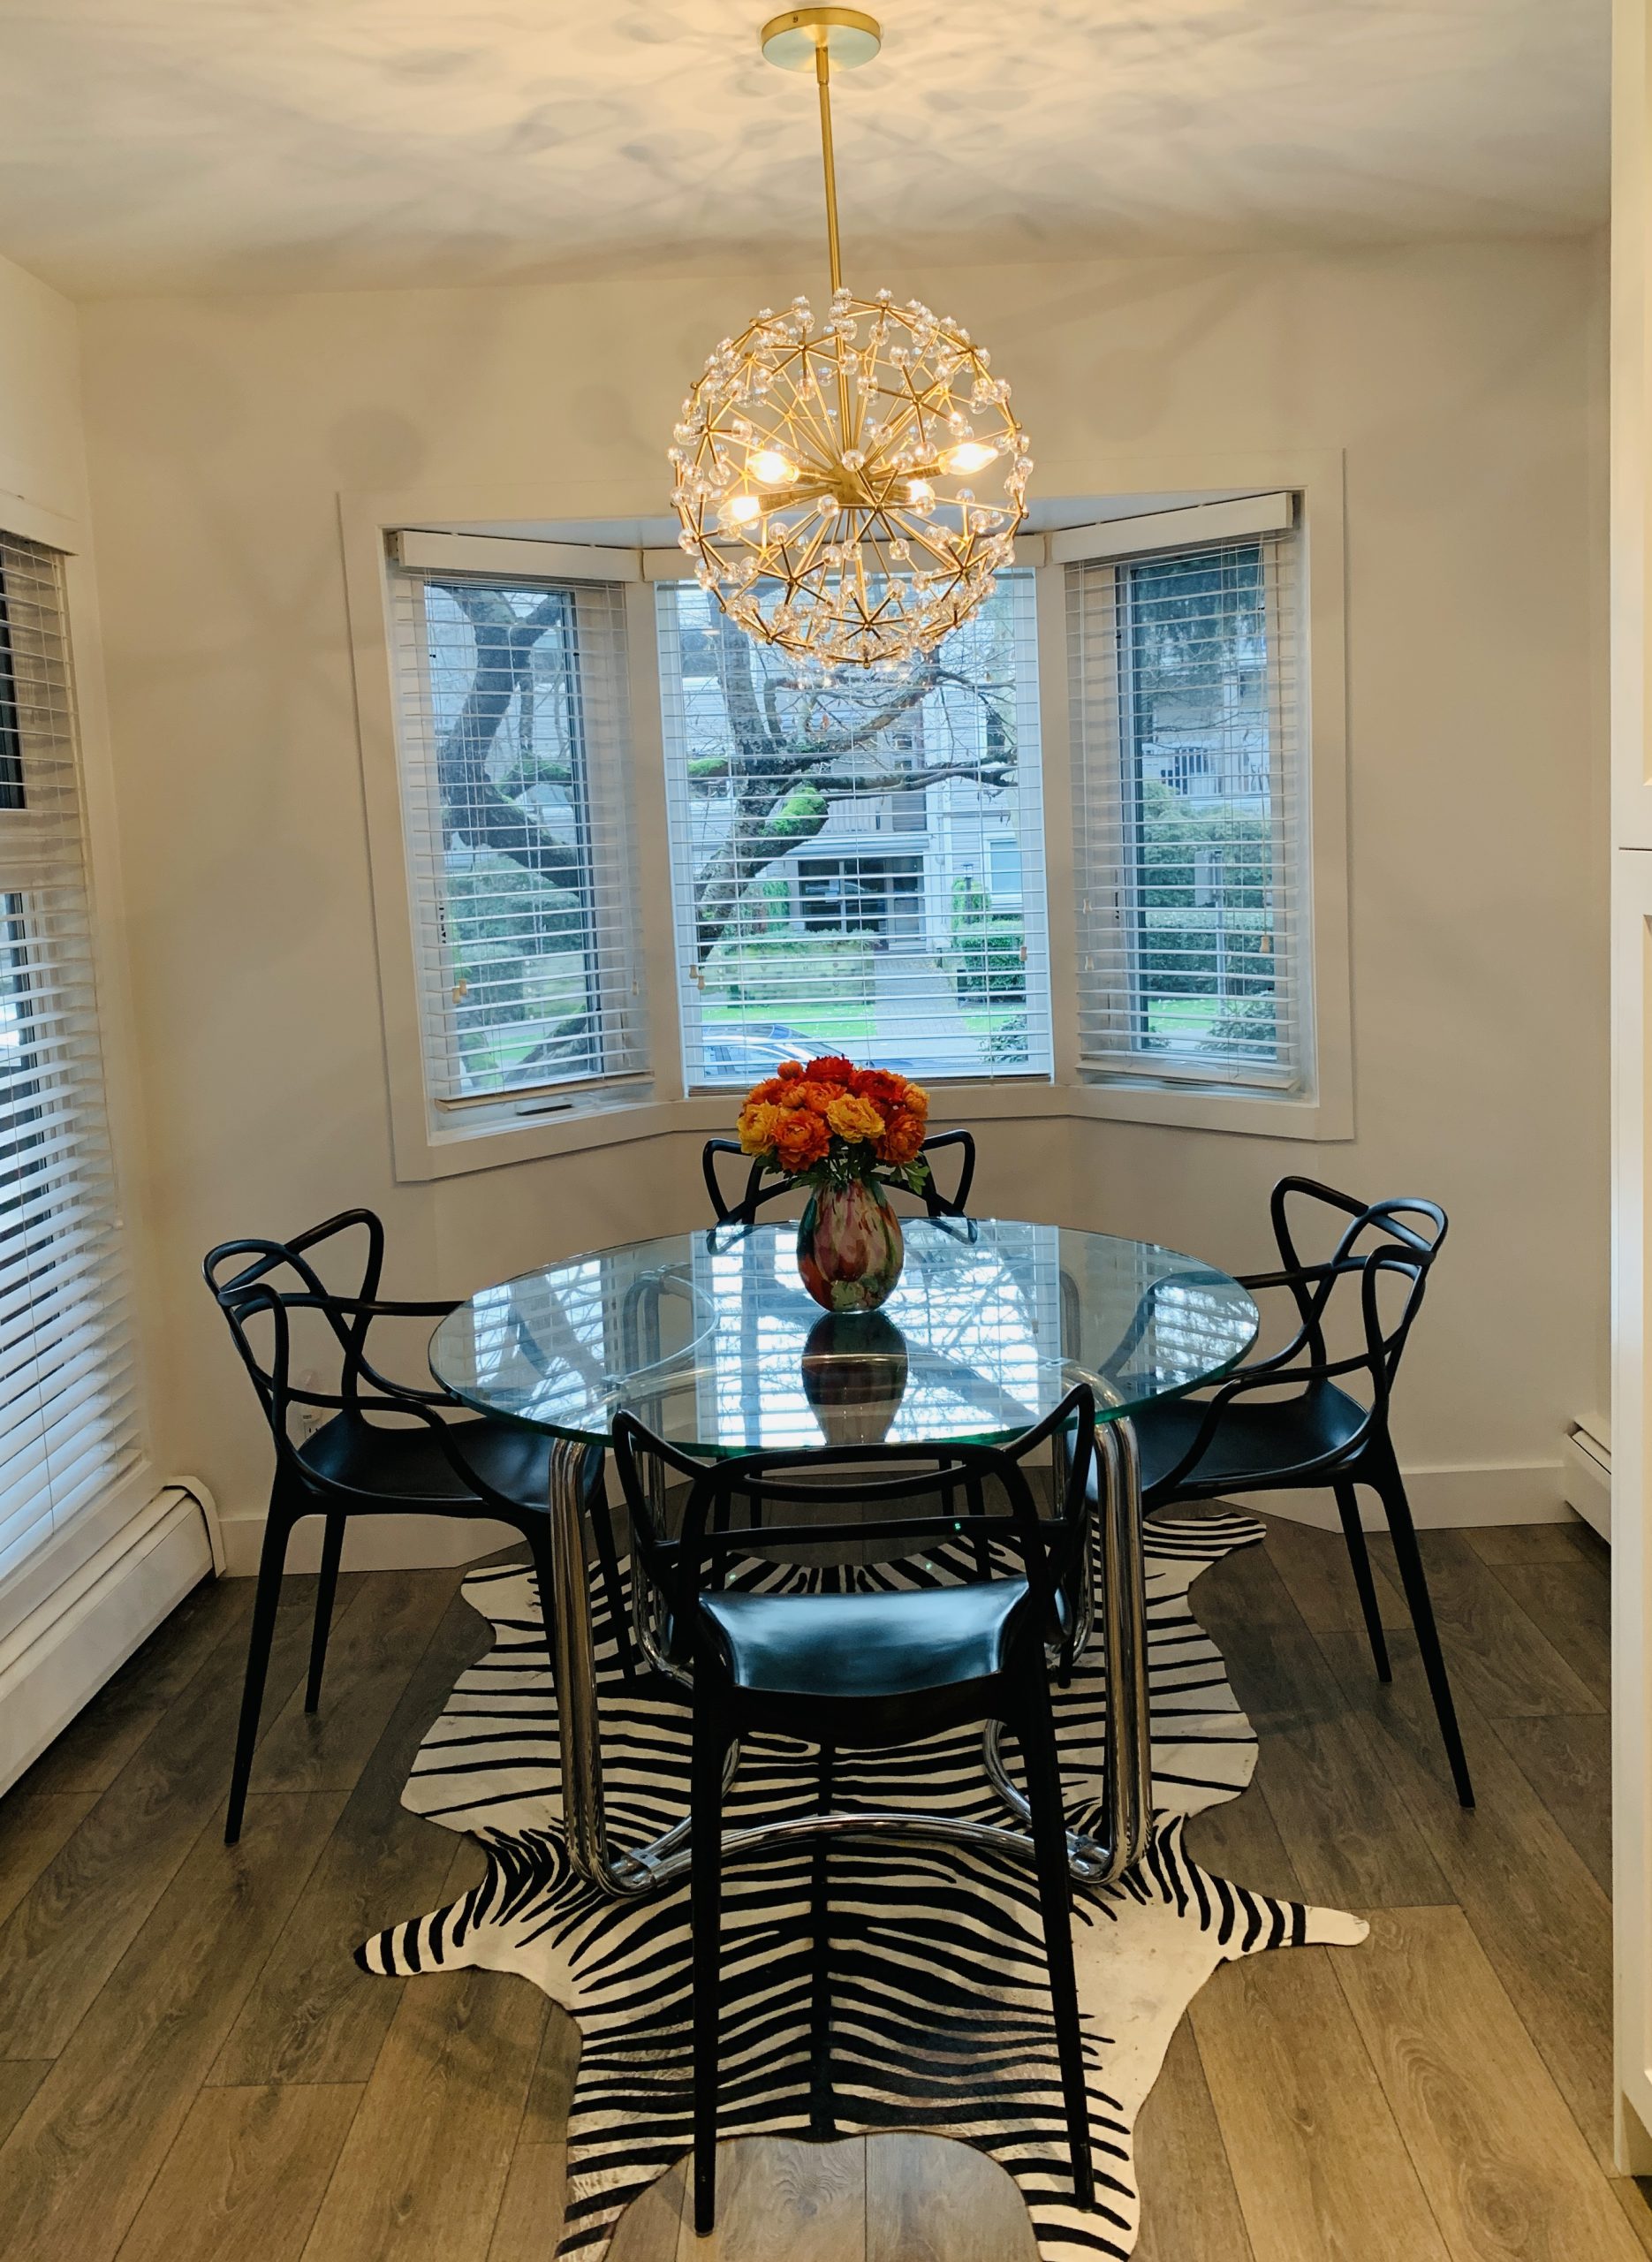
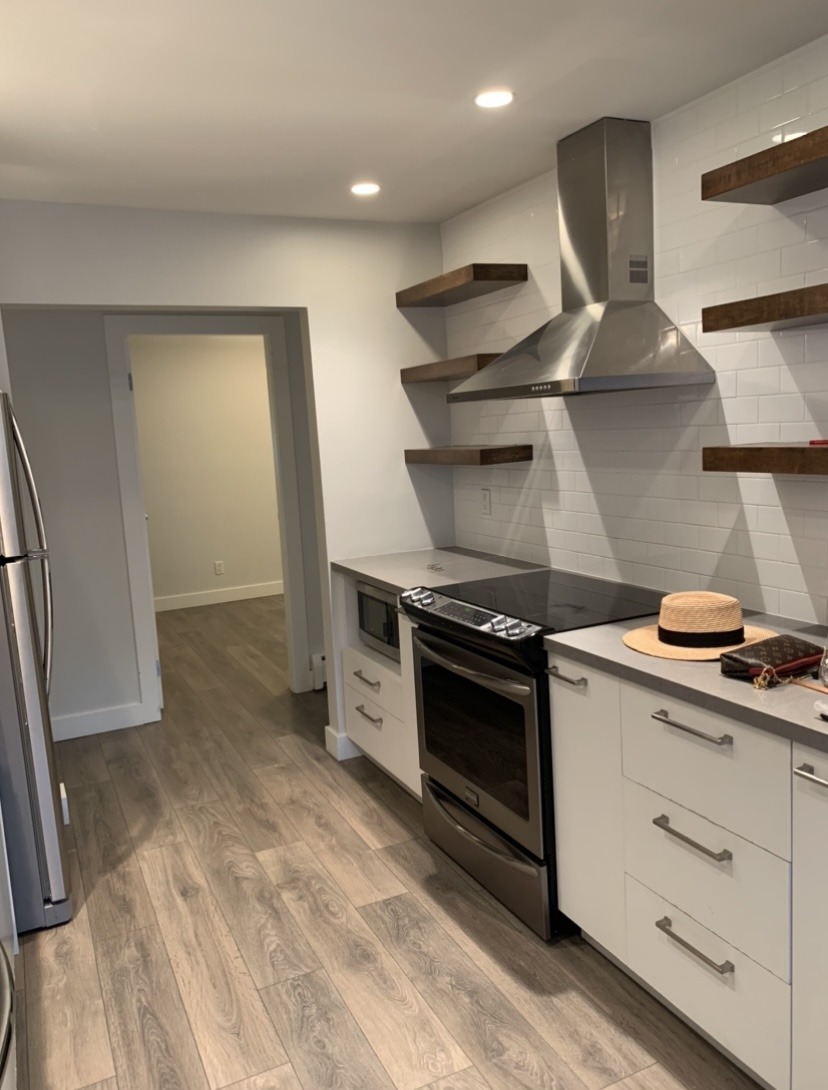
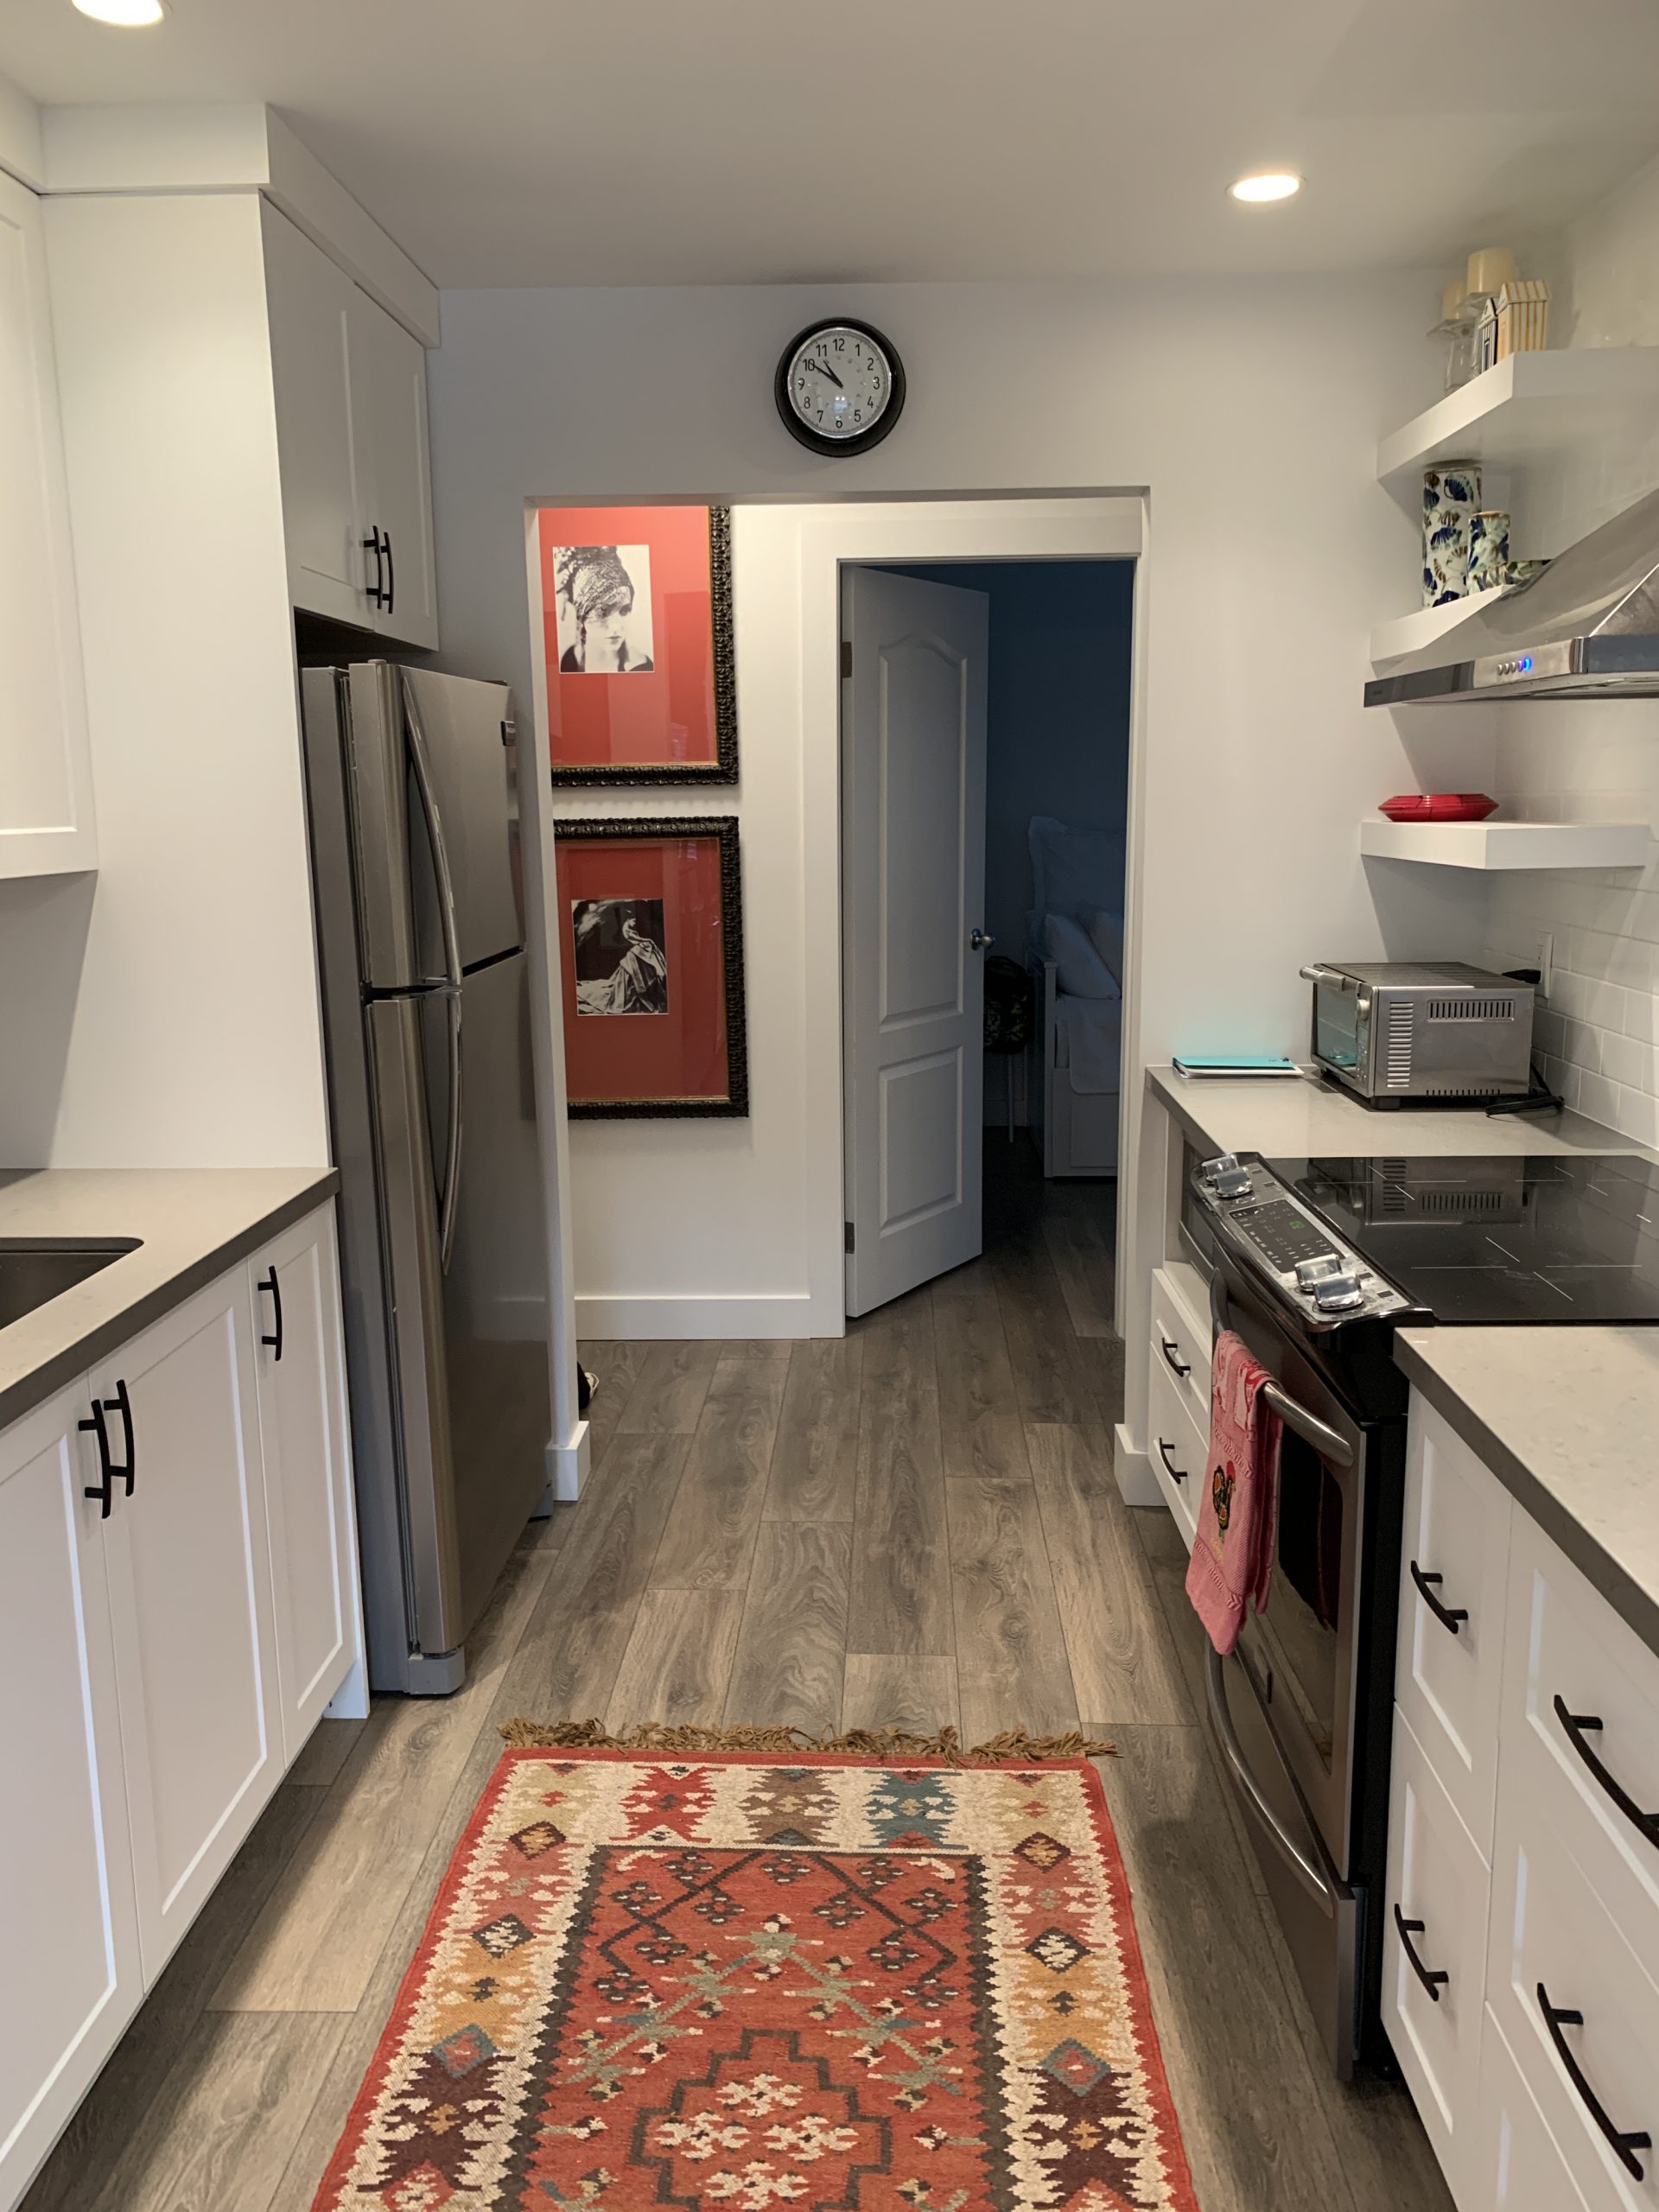
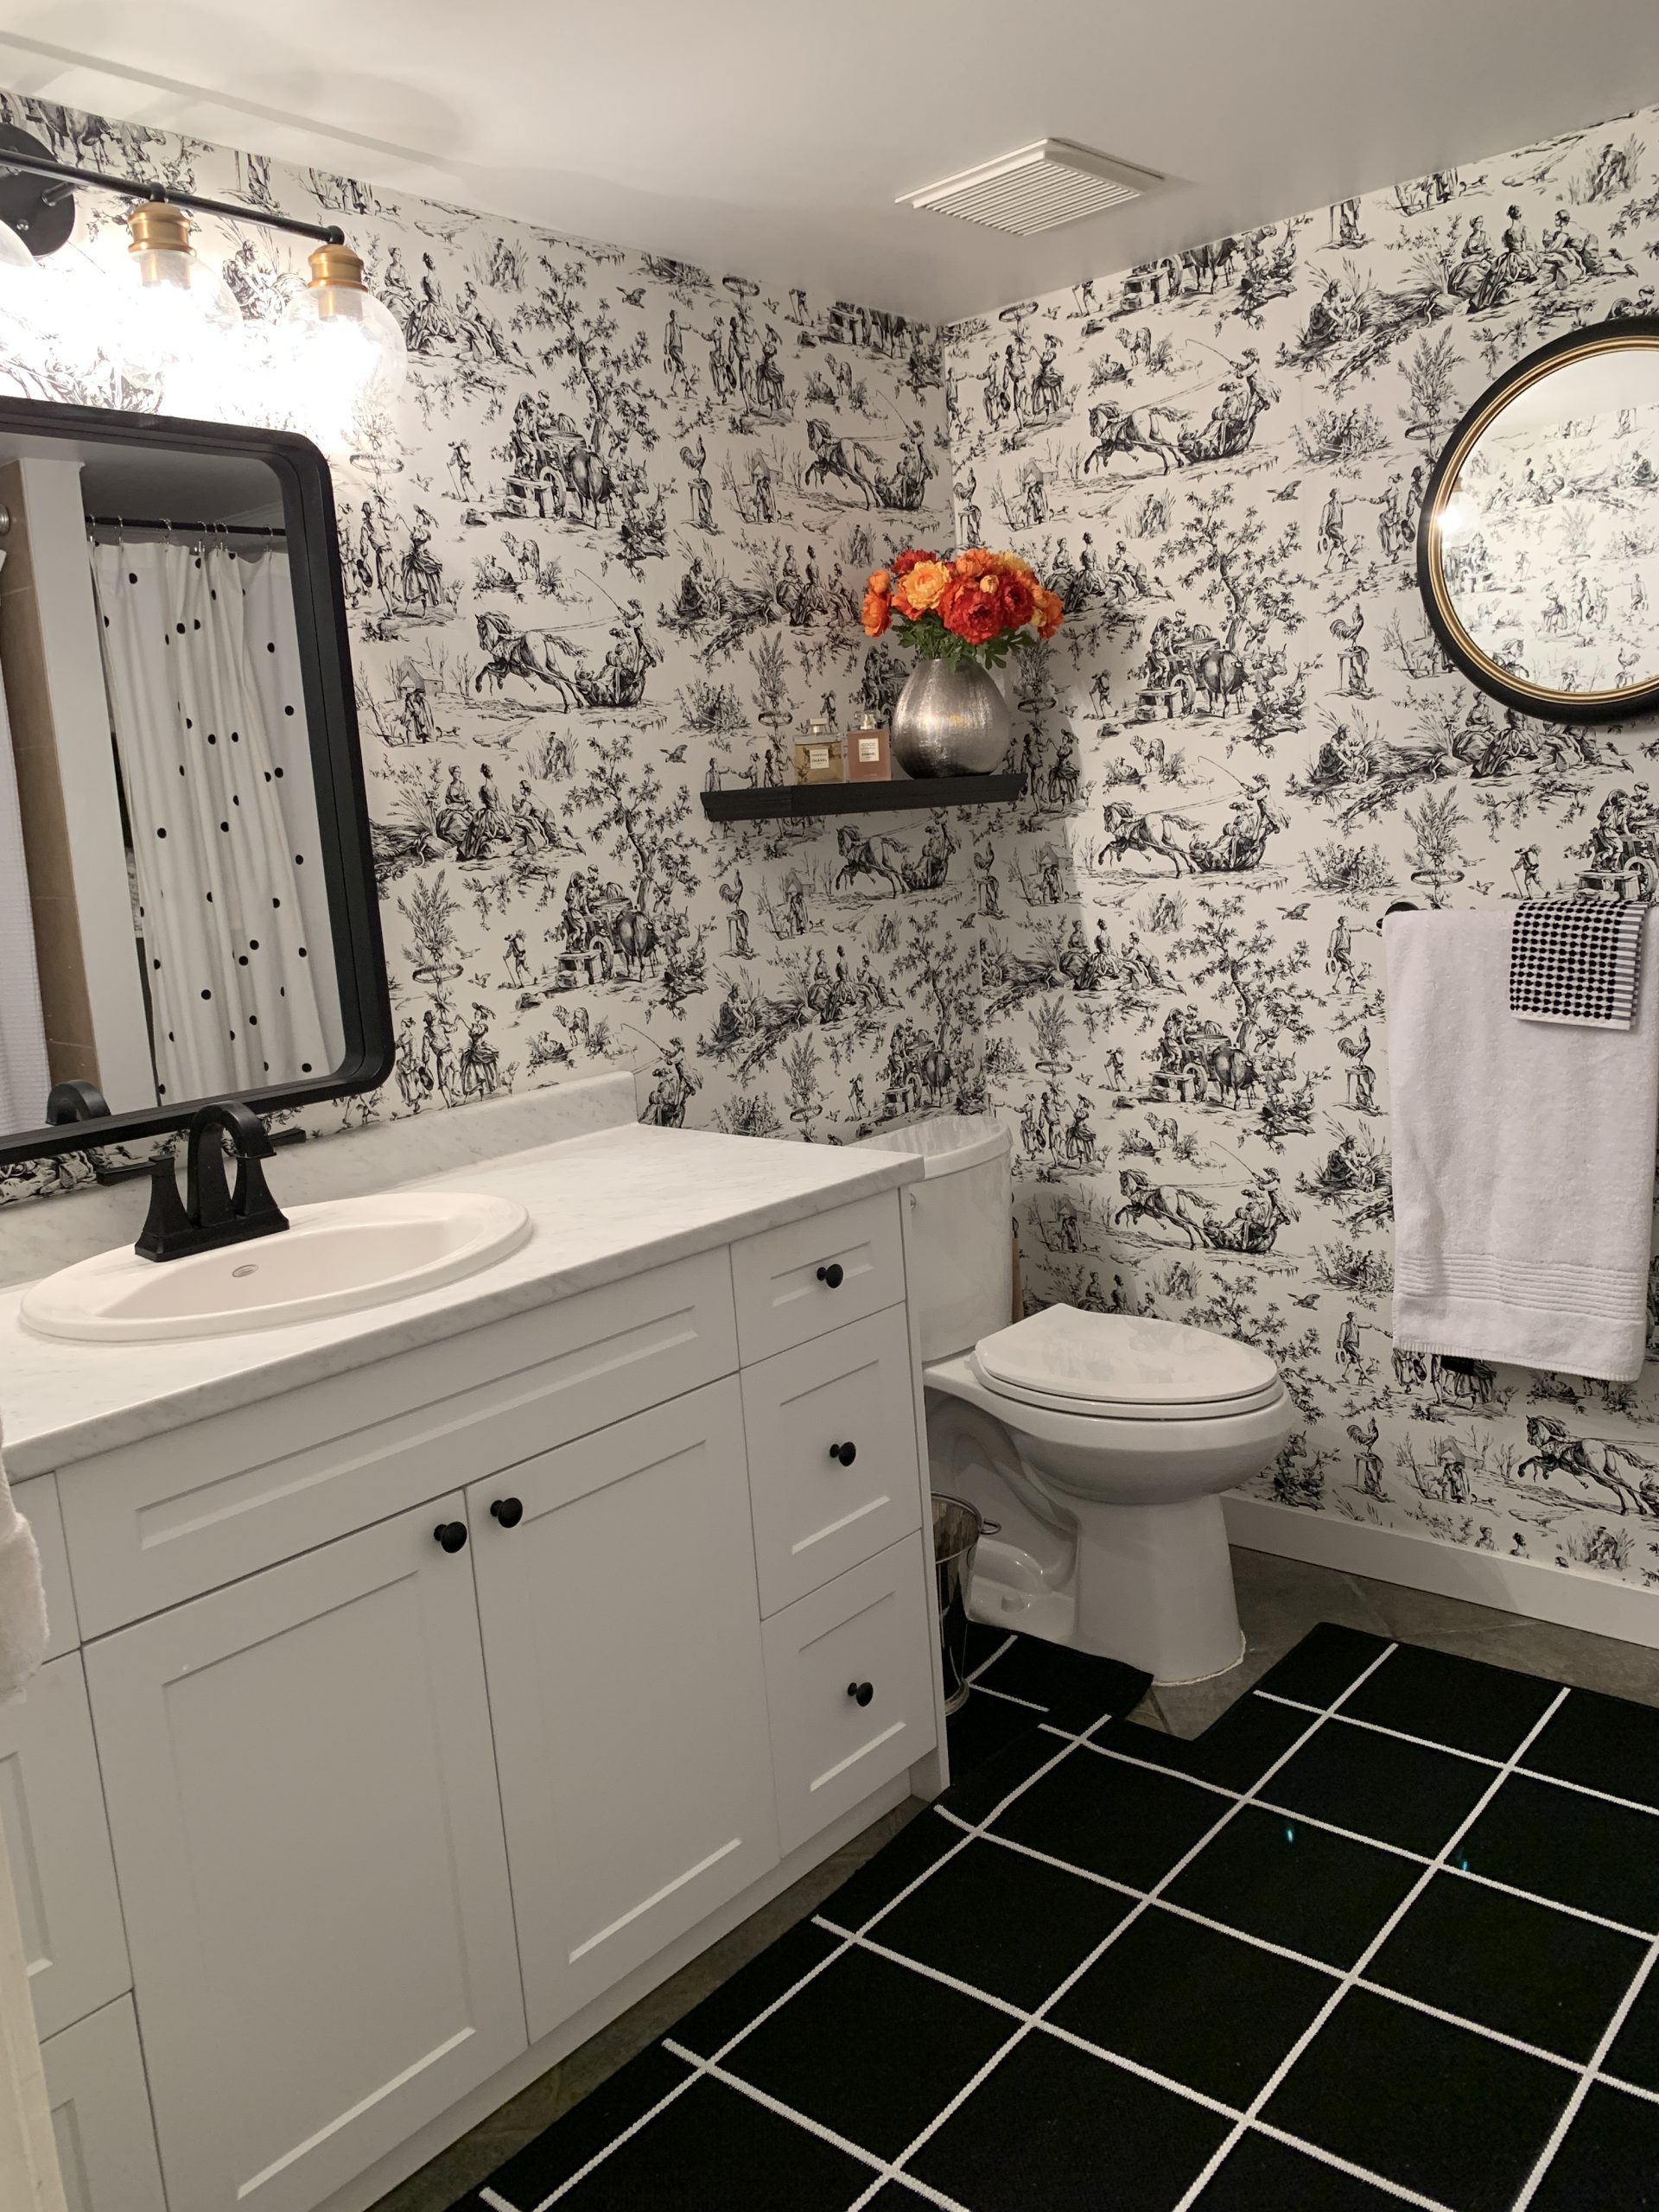
I moved from Toronto into a two bedroom 900 square foot condo in Vancouver’s Kitsilano neighbourhood at the end of March 2020. Talk about bad timing!! The pandemic was breaking and I lost my job soon afterwards. My new home was drab and neglected, and my finances suddenly became really tight. I had planned a bigger renovation but, instead, embarked on a budget-friendly makeover, with the help of a handy friend, that was limited to online shopping and big box stores – the only two sources available at the time. Here are ten budget-conscious tips that made my small home shine:

Overall Plan

The pandemic put the brakes on my new job so while I had the time to plan the project myself, I had to spend every dollar carefully. I focused on the most important rooms and then researched everything I needed online to come up with a shopping list and budget. I wanted to keep the project as simple as possible with minimal disruption like construction or water shut-off since other residents in my building were all at home.

Tip: I saved inspirational photos from Instagram accounts I follow (home decor magazines and interior decorators) in a file within the Instagram app. Pinterest is also an amazing source of ideas.

Colour Scheme

My home was surrounded by trees so the rooms didn’t get much natural light. To keep the space bright and make it feel bigger, the walls and ceilings in each room were painted white. The simplicity provided a neutral background to highlight my accessories – and in the long run, bright white walls are also smart for resale.

Tip: Pick your white carefully. Some are blue-greyish in tone which will make a room appear darker while others have a more yellow cast. I chose Decorator’s White by Benjamin Moore.

Accent Shades

To give the white rooms a bit of edge, I chose brushed gold as my accent metallic in lighting fixtures and the main bedroom wallpaper. Black was my tone in hardware details and the bathroom. Both neutral tones work so well to let colourful accessories sparkle.

Tip: Keep a file of photos and notes on dimensions (room sizes and major pieces of furniture) in a file on your phone for easy reference when shopping. Knowing exactly what you’ve already bought cuts back on mistakes and impulse buys. That way, when I found a terrific bargain or special piece, I knew if it would fit.

Before

After

Focus Rooms

Whenever I move into a new home, I always want the whole thing fixed up perfectly asap. But as the cliche goes – “Rome wasn’t built in a day” – so I focused on the two most neglected rooms – the kitchen and bathroom – that are also the most important for resale. I chose to update the walls and cabinets, but nothing that would require construction (ripping up floors or cabinets) or shutting off water (replacing the tub and adding a shower). Those bigger disruptions could wait for another time. I was mindful of my budget so chose a laminate bathroom countertop over stone or marble, and researched sales for the best deal on lighting.

Wallpaper or Paint?

Paint is the fastest way to update a room but I love wallpaper. Here’s where I tossed the idea of “resale value” out the window. I knew that the black and white toile pattern I coveted wouldn’t appeal to some people but I wanted to make a major statement in the bathroom. The walls were uneven from previous patching jobs so the busy print was a perfect distraction. And it took attention away from the dark green floor tiles that I couldn’t afford to replace. I also had wallpaper applied on all four walls in the bedroom. The room was large enough and the gold fan pattern airy enough to cover all of the walls.

Tip: Choose a wallpaper you really love. Some papers are expensive so cover just the feature wall behind your bed. I took photos of a lot of patterns I loved and scrolled through them constantly. I waited a week before ordering to make sure I could live with my choice long term.

Lighting

The living room lighting was tucked away in pot lights, but my dining room (in the centre of the condo) needed a style signature. I replaced its cheap foil paper chandelier (it gave off a gold haze) with a whimsical light that reminded me of a shimmering dandelion head. I ordered it online and by the time it arrived in the store, the price had been reduced twice.

Before

After

Kitchen cabinets

I couldn’t afford a full renovation with new cabinets and countertops so I updated the cabinet and drawer fronts. The bashed-up plain kitchen doors and drawer fronts were refaced with bright white Shaker style panels. (At the same time, I had the fronts replaced in the large bathroom cabinet.) Spray painting the fronts is a less expensive option if your cabinets are in good shape but mine were chipped with worn edges. The stained wood shelves in the kitchen were also painted white to make them blend into the tile better, and give the room a bigger airy feel.

Tip: Replacing drawer pulls is a quick inexpensive way to update cabinets. I replaced the nickel hardware in the kitchen and bathroom with stylish matte black pulls – a sleek bar shape in the kitchen and round knobs in the bathroom.

Bathroom accents

I was replacing three quarters of the bathroom so I wanted to distract from the wall I couldn’t afford to touch – the one with the bathtub and shelves (not quite big enough to fit a shower stall) which would be hidden by shower curtains. Busy wallpaper on three walls created a cosy feel and then I used matte black accessories with gold trim (lighting and mirror) to tie the look together. I couldn’t rip up the floor so I found a washable indoor/outdoor rug that was cut and trimmed to size. Bath mats over top kept it clean and distracted from the dark green floor tile underneath.


Stay tuned for Part 2!